Taking architecture photos requires a totally new set of moves from portrait, fashion, and food photography. Think of it as still life photography on a grander scale—capturing objects and, more importantly, the space that contains them, all at the mercy of the weather. Architect Benson Go, contributing photographer for Tropical Architecture for the 21st Century Volume 1, shares some tips for better architecture photography.
Ocular
Pay the site a visit beforehand so you can already narrow down the different areas you want to set up in. If you are limited by time, at least walk through the entire place first so you can figure out the key spaces you need to photograph. Talk to the architect, designers, and end-users if you can. Understanding the design intention will help you plot your shots. This is an important step for commissions.
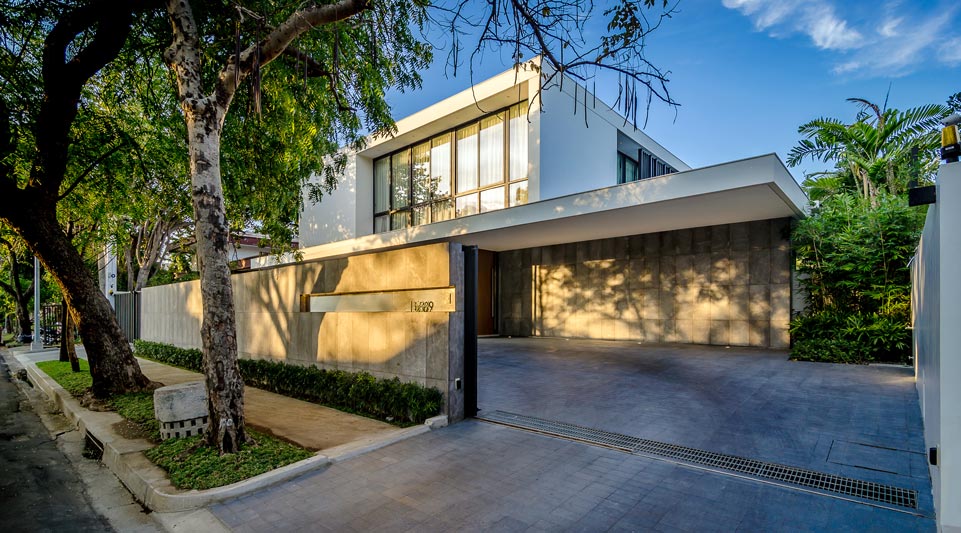
Know East and West
Understand the orientation of the structure. If the designer is not present, ask the homeowners what direction their house faces (they usually know). If you are on your own, take out you phone and work your way to the compass app. Figuring where east and west is going to help you determine which portions of the structure capitalize on morning and afternoon sunlight.
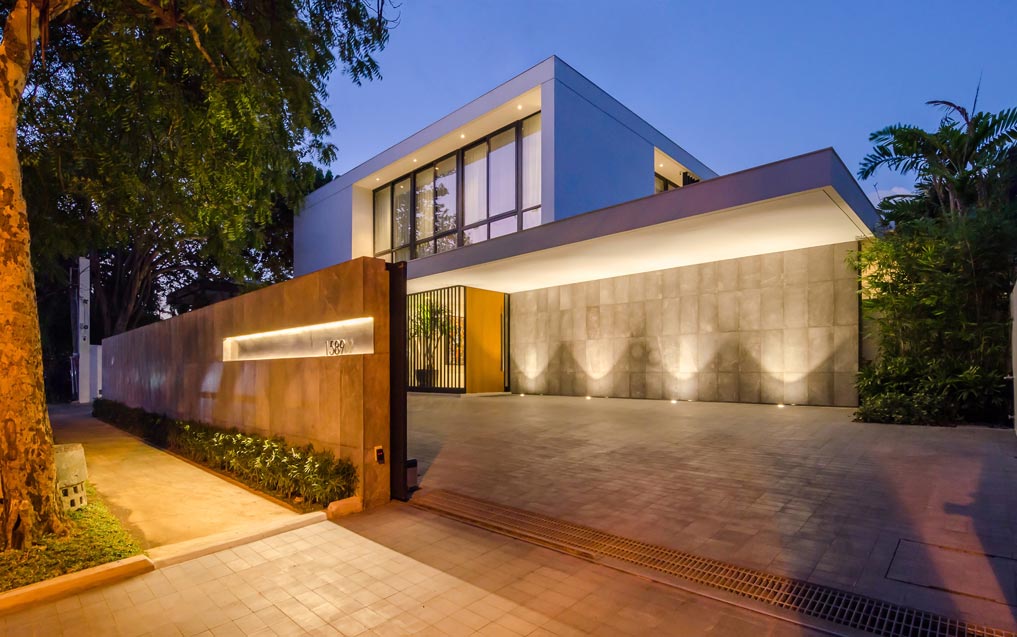
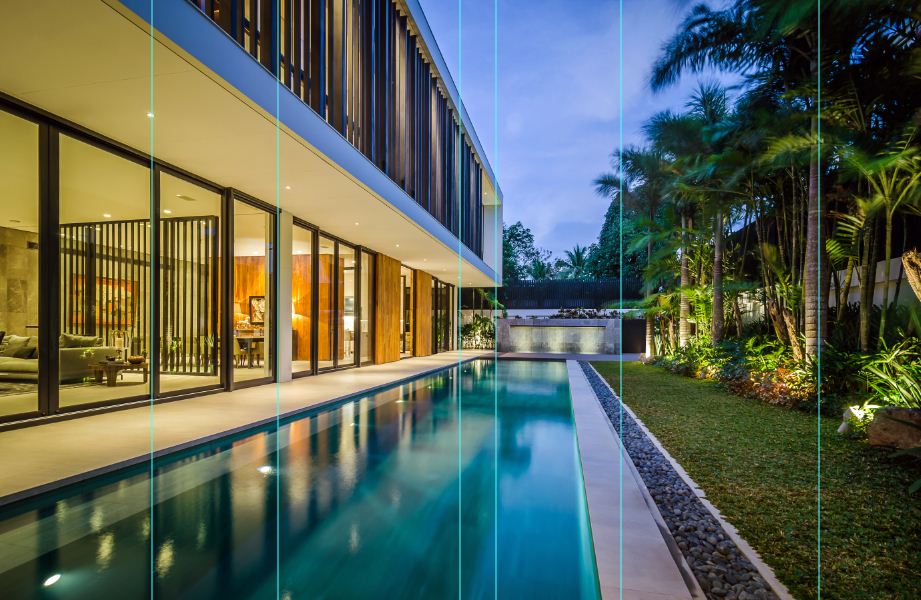
Schedule to chase the daylight
In the Philippines, you have golden windows for architecture photography. In the morning, it’s between sunrise and 10 am when the sunlight isn’t too harsh that it drowns details on facades. In the afternoon, it’s the 30 minutes leading to sunset when the sky is washed pink and blue. Schedule your exterior shots accordingly. Of course, you want to photograph the exteriors of the structure both in the gentle morning sunlight and dramatic dusk.
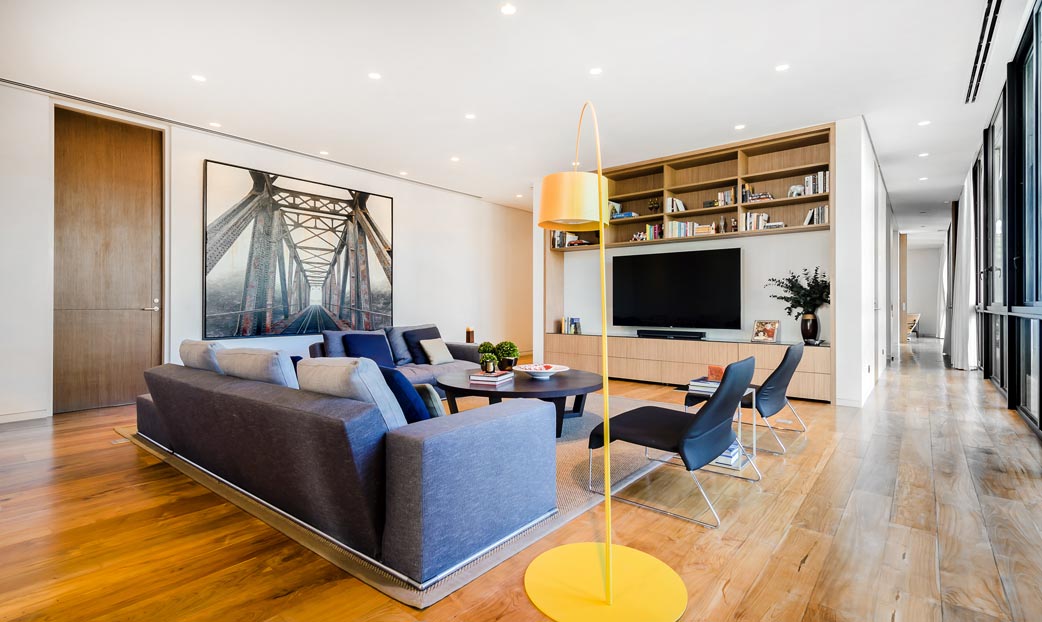
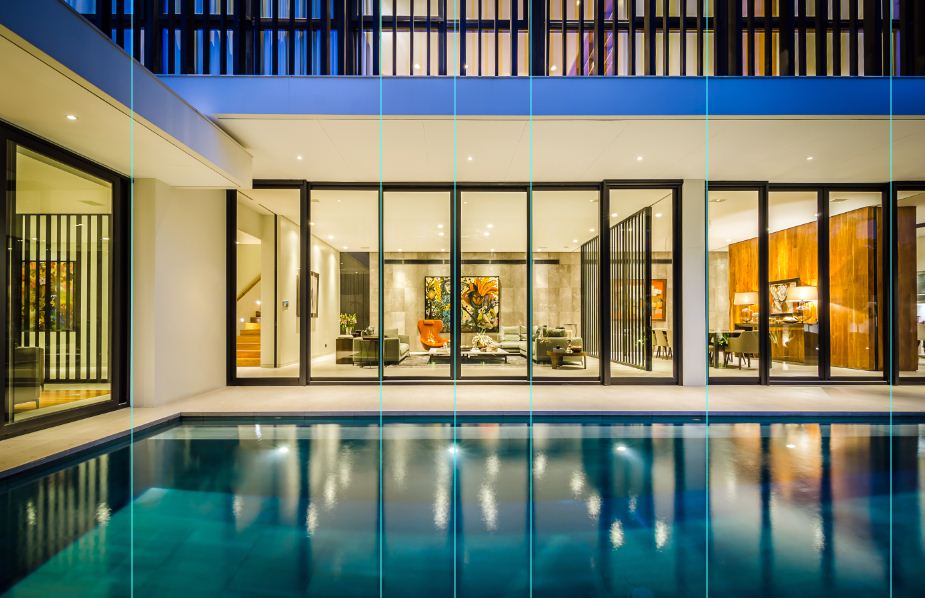
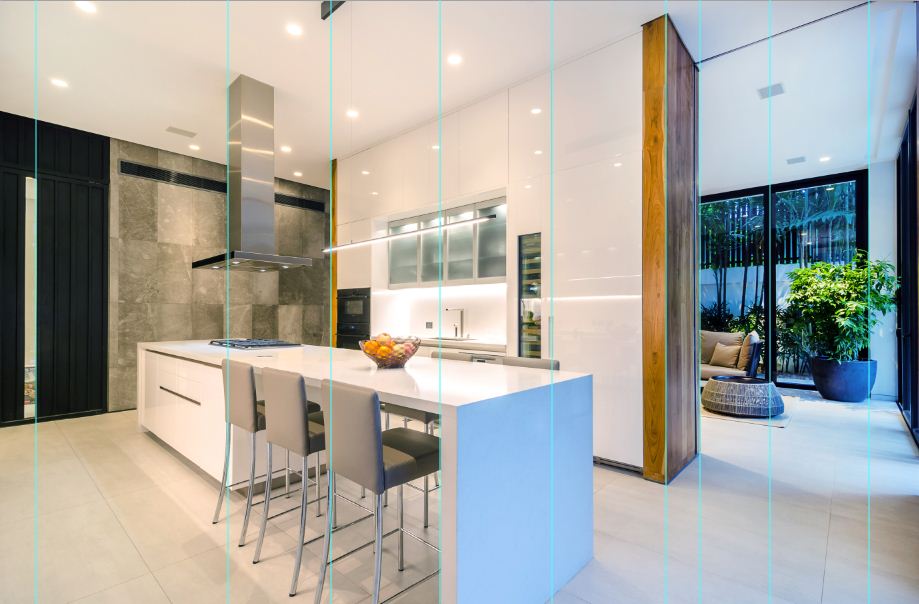
Keep your verticals vertical
If there is only one thing you can remember from this list, commit this to memory: keep your verticals vertical. Many swear by Photoshop (that’s alright) but there’s a higher chance for distorted photos, even with the perspective correction tools, if the verticals in your raw shots are not level. Try to get as much as you can in the shot as true to vertical as possible and save yourself some time in post-process.
Nimble tools
Lightweight and compact tripods are more flexible to work with. Not only do they stabilize your camera, they help you squeeze into corners for interior photos. They are also easier to pack up for travel.